How to Make the Perfect Hay for Horses: A Step-by-Step Guide
Hey there, fellow horse lovers! 🐴 If you’re keen on keeping your equine friends happy and healthy, you’ve probably thought about the quality of hay you feed them. Quality hay is essential for your horses’ nutrition, so why not learn how to make the best hay yourself? Let’s dive into the details!
Table of Contents
Perfect Hay for Horses – Choosing the Right Grass
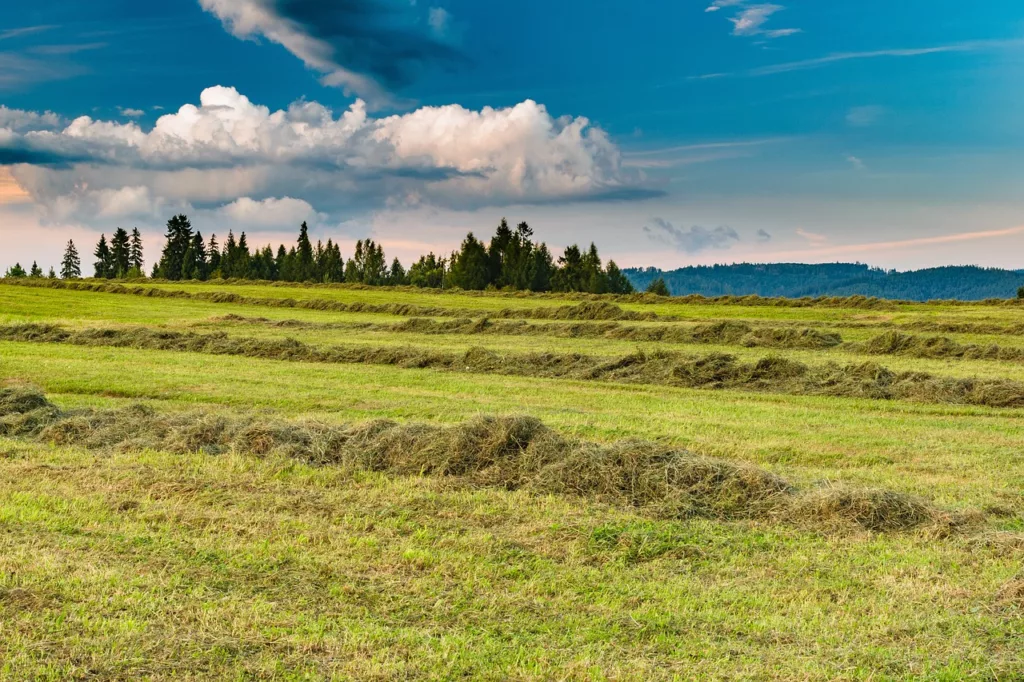
The first step to making perfect horse hay is selecting the right species of grass. Not all grasses are created equal when it comes to horse nutrition. Here are some top choices:
- Timothy Grass: This is a favorite among horse owners due to its balanced nutritional profile and digestibility.
- Orchard Grass: Another excellent option, known for its palatability and high fiber content.
- Brome Grass: It’s hardy and nutritious, making it a solid choice for horse hay.
- Bermuda Grass: Great for warmer climates, it’s a low-sugar option that’s gentle on your horse’s stomach.
If you already have a grass lay, seek professional advice as to the varieties of grasses you have and if they are suitable to make hay, and then take a soil sample to check the levels for nutrients (to make the grass grow).
If you are planning on sowing a grass lay then you may want to consider a grass alfalfa mix – but be aware that sometimes the alfalfa can take over the lay, if you have horses that are prone to laminitis (founder), or suffer with equine metabolic syndrome, or equine Cushing’s syndrome, you will want to opt for grasses that are naturally low in sugar, I would recommend that you speak to your local grass seed supplier, they will be able to advise you the best varieties for your location.
Equipment Needed to Make Hay
Mower or mower conditioner, there are several different types of hay mower:
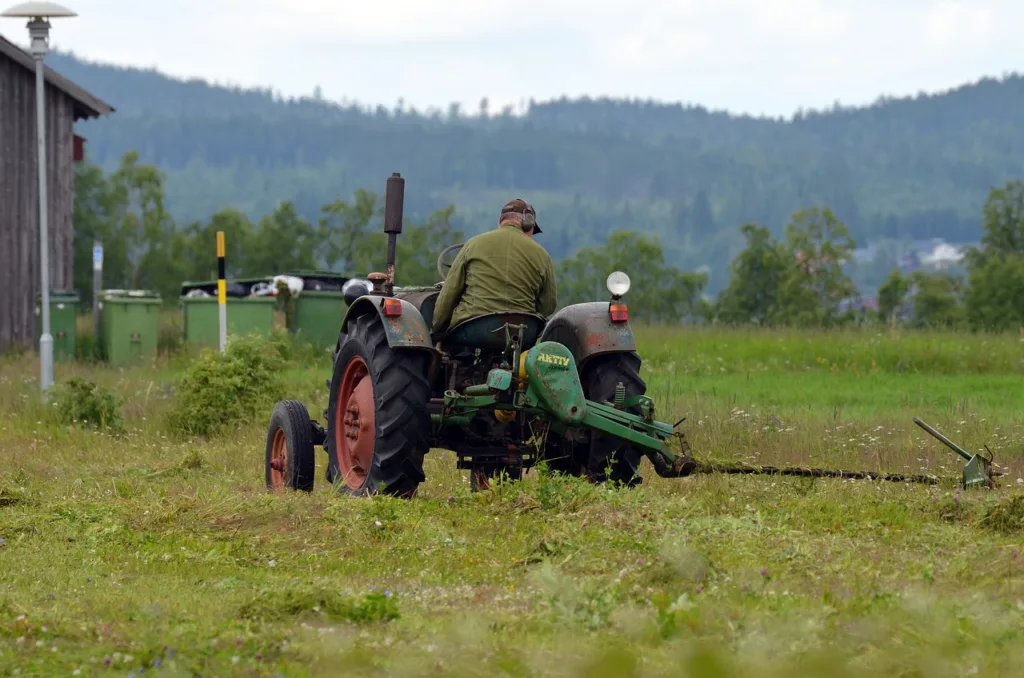
Sickle bar, Equipped with triangular blades that move back and forth to cut any vegetation caught in between, sickle bar mowers are lightweight and can work on less horsepower.
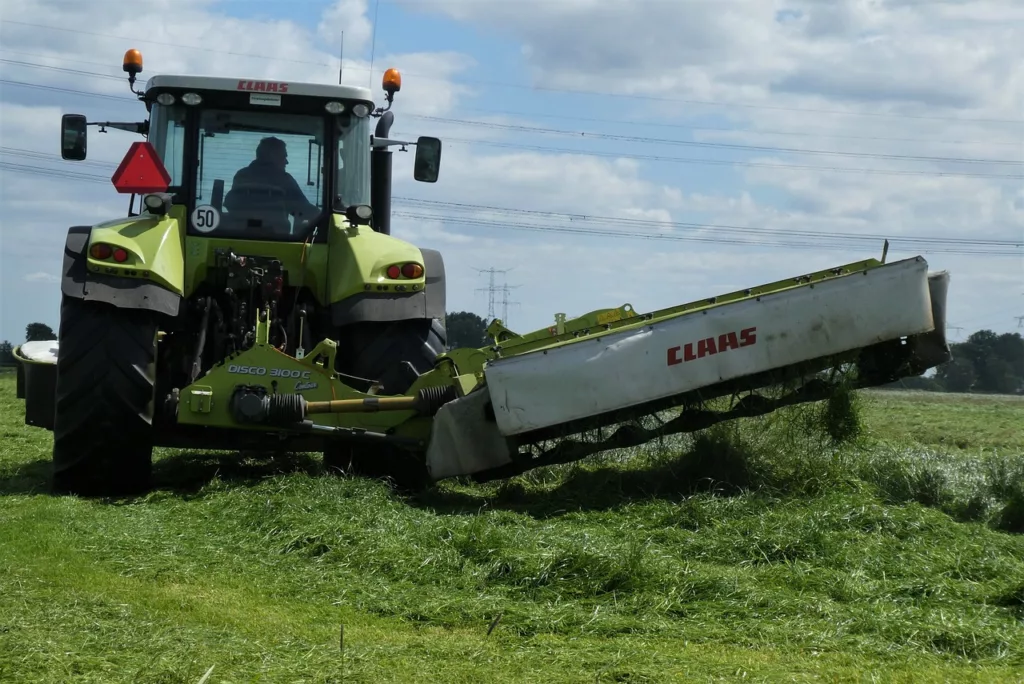
Disc mower – These tools have small discs that rotate very fast mounted on a cutter bar, which moves against the ground, controlling the cutting height. They’re fast and need the help of hydraulics to operate but they don’t get clogged. They’re much heavier and need a more robust tractor to handle them.
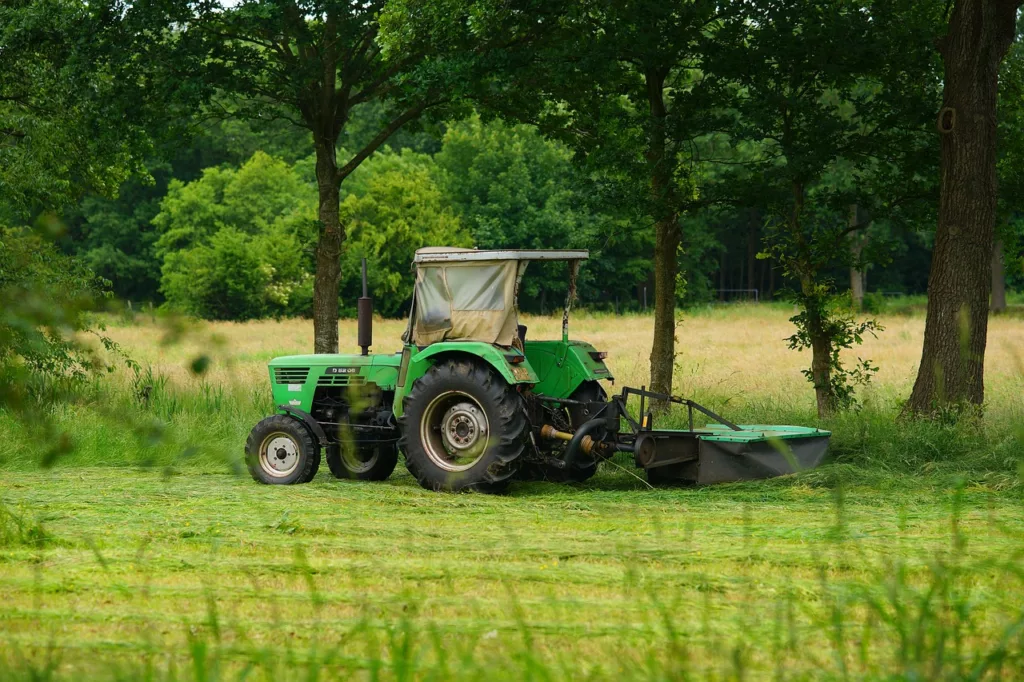
Drum Mower – The “drums” are cylinders that counter-rotate with a disc attached to the bottom that has blades fixed on it. They can cut thick vegetation, are durable and don’t need hydraulics but they’re quite heavy and need a rugged tractor. The advantage of these is that you only have a 3 blades were disc to change.
What to use to ‘Turn’ the hay?
Hay Tedders
You need to turn over the hay lying around so the lower layers can get the air and sunlight needed to dry faster. These machines have spinning tines that catch the hay and then throw it out from the rear end. A tedder is very helpful when you’ve got heavy hay or hay that’s been left out in the rain. They don’t need much horsepower, are easy to transport and can be lifted over windrows. While some use rakes in place of tedders, rakes tend to leave hay in clumps.
Hay Rakes
Before hay can be baled, it needs to be raked into windrows. There are various types of hay rakes and your final selection will probably depend on your geographical location.
Wheel Rakes
These simple types of rakes need little adjustment and are quick and efficient. However, because they’re low-lying, they can gather dirt, debris and small stones along with hay, reducing its quality. The hay rakes by these machines also don’t dry completely which makes it heavier. Wheel rakes also need big storage space.
Rotary Rakes
Designed to make uniform windrows while reducing leaf loss, rotary rakes can easily handle wet and heavy crops as well as dry ones, making them very versatile and useful machines. Since their tines don’t touch the ground, the hay quality is better. They’re rather easy to maneuver, which makes them great for land with changing ground contours.
Belt Rakes
These compact and versatile implements can be used even when reversing your tractor, which works great for tight spaces. They create fully and consistent windrows and can rake both wet and dry hay. Being lightweight, they’re easier to transport and lift over obstacles and come in a variety of sizes to suit different farming needs.
Hay Balers
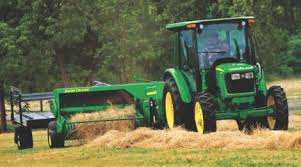
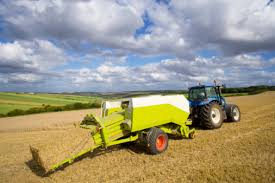
These tools come in various categories and require more horsepower and a bigger tractor size than a compact or subcompact model. Balers are also divided according to the shape of the bales they produce.
Round Balers
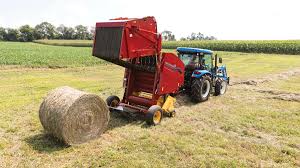
These balers are gaining popularity because of the ease of getting the hay bales into barns. These balers roll the hay in their chambers until it reaches the right size. The bale is then tied with either twine or net and ejected from the rear end. A drawbar connection is better than a 3-point hitch as you won’t have to lift the baler when turning corners.
Square Balers
These balers work much the same as round one but they form square bales. These are very efficient machines and can make a bale every 10 seconds or less. You need a tractor with a little more horsepower to handle that kind of output. Square balers are often preferred by users because the bales are easy to handle and stack. Again these balers make different sized bales, from small square bales that are easily handled by people to large square bales that need a tractor to move them.
Hay making Weather
When first starting out making hay, one of the first considerations is ‘the weather’, ideally you will need a week of dry, sunny with some wind – to aid in drying of the grass, plan to mow the grass with a mower/conditioner, and turn it at least once a day. If you have a high percentage of alfalfa, you should turn the hay in the morning when it’s a bit damp so you can keep as many leaves on the plant as possible.
Getting the Moisture Level Right
Balancing moisture levels in hay is crucial. Too much moisture, and your hay could mold; too little, and it might become too brittle and lose nutritional value. The sweet spot for baling hay is at a moisture level of 15-20%. This range ensures that the hay retains its nutritional quality while minimizing the risk of mold. To purchase a hay moisture tester click here
Here’s a little transparency: Our website contains affiliate links. This means if you click and make a purchase, we may receive a small commission. Don’t worry, there’s no extra cost to you. It’s a simple way you can support our mission to bring you quality content.”
Best Practices for Baling
- Cutting: Start by cutting the grass when it’s in the pre- or early bloom stage. This timing ensures optimal nutrient content.
- Drying: Spread the cut grass evenly and let it dry under the sun. Regularly turn the grass to ensure even drying. Aim for a drying period of 2-3 days, depending on weather conditions.
- Baling: Once the grass has dried to the ideal moisture level, it’s time to bale it. Use a baler to compress the hay into manageable bales.
Storing Your Hay
Proper storage is key to maintaining the quality of your hay. Here are some tips to keep your hay fresh and mold-free:
- Dry, Well-Ventilated Space: Store hay in a dry, covered area with good air circulation. This prevents moisture buildup and mold growth.
- Pallets or Racks: Keep the bales off the ground by using pallets or racks. This allows air to flow around the bales and reduces moisture contact from the ground.
- Regular Checks: Inspect your hay regularly for any signs of mold or moisture. Remove any affected bales immediately to prevent contamination.
Wrapping It Up
Making your own hay can be a rewarding process that ensures your horses get the best possible nutrition. By choosing the right grass, maintaining the proper moisture level, and storing your hay correctly, you can provide your equine friends with top-notch feed all year round.
Happy haymaking!
